Dịch Vụ Sửa Chữa Giày Uy Tín tại TPHCM
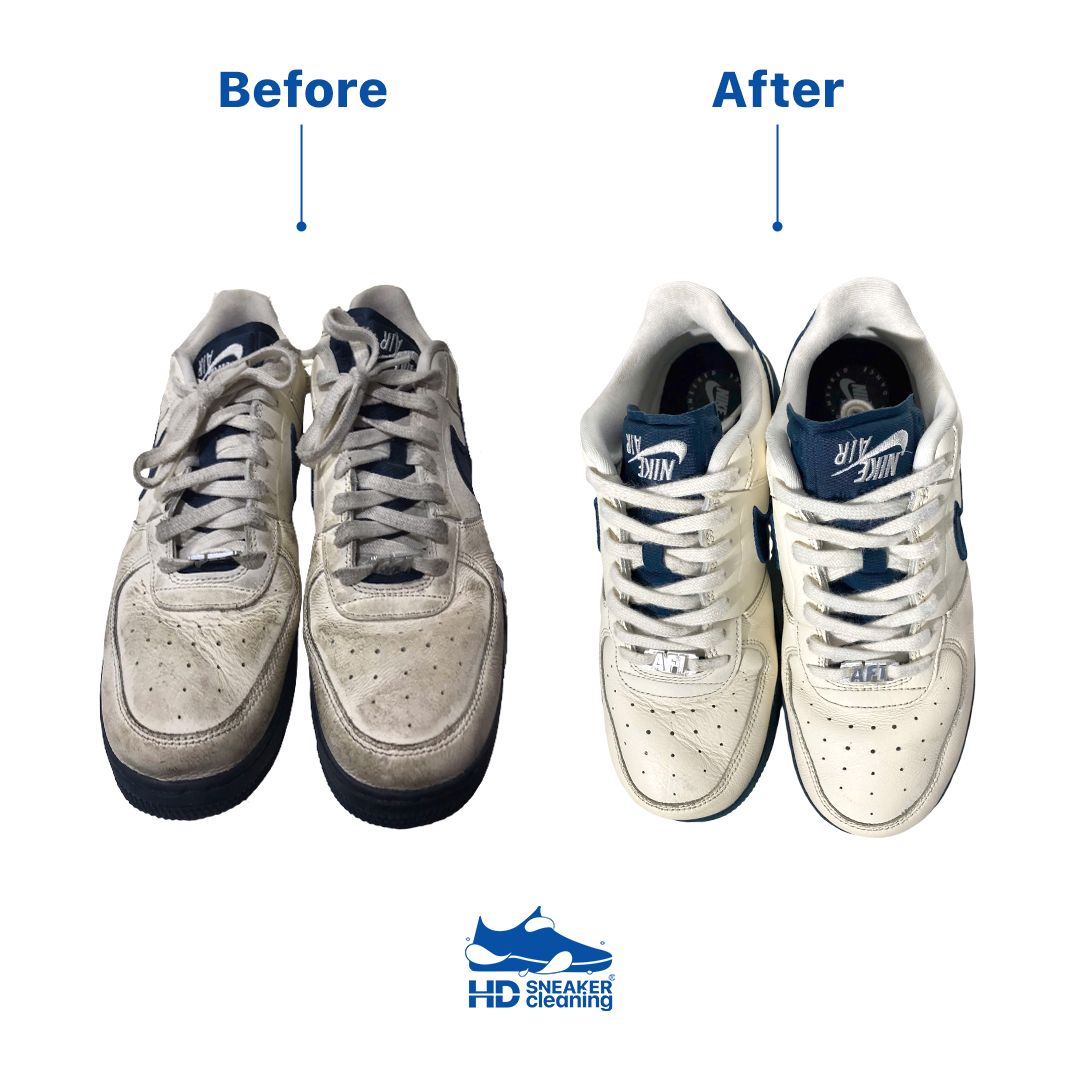
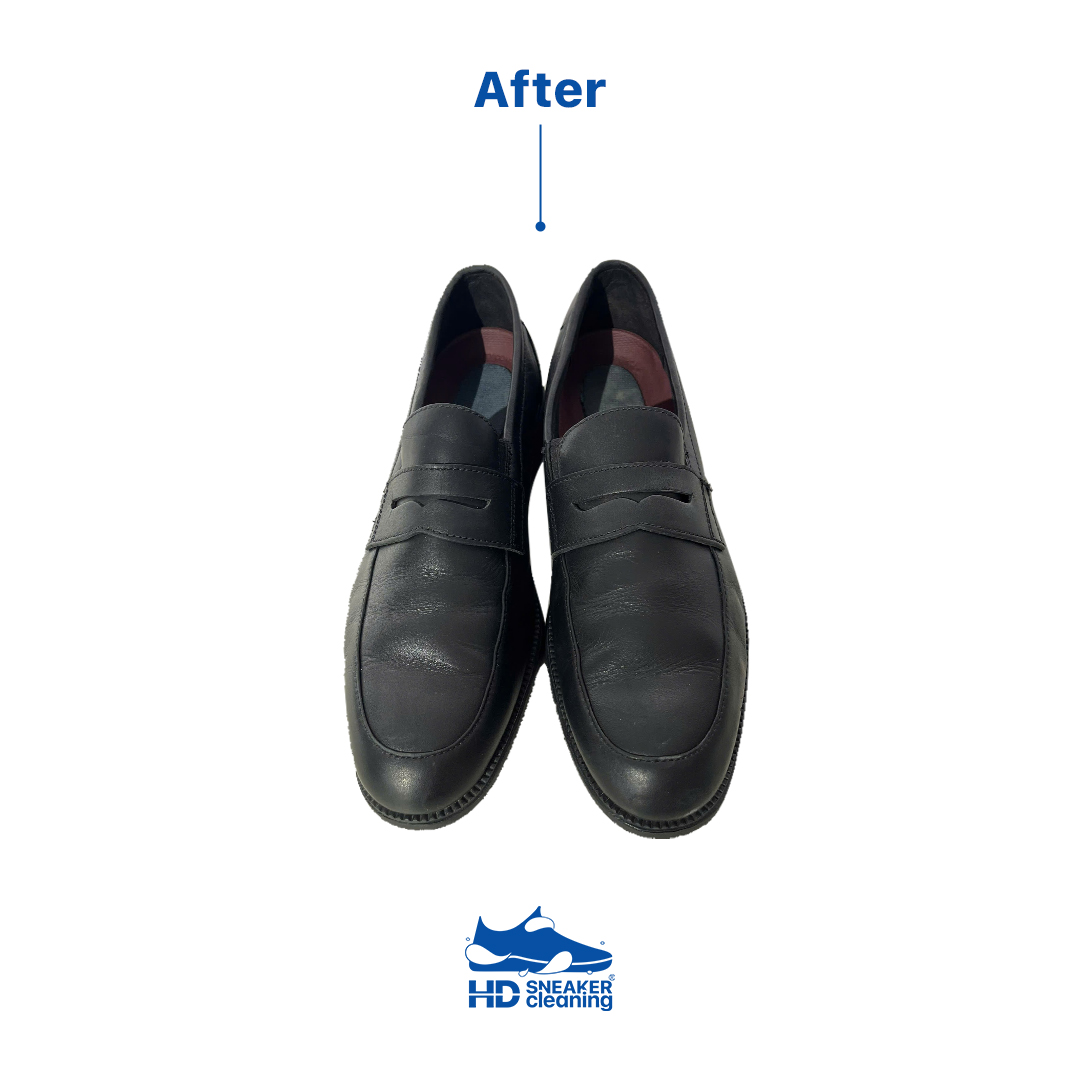
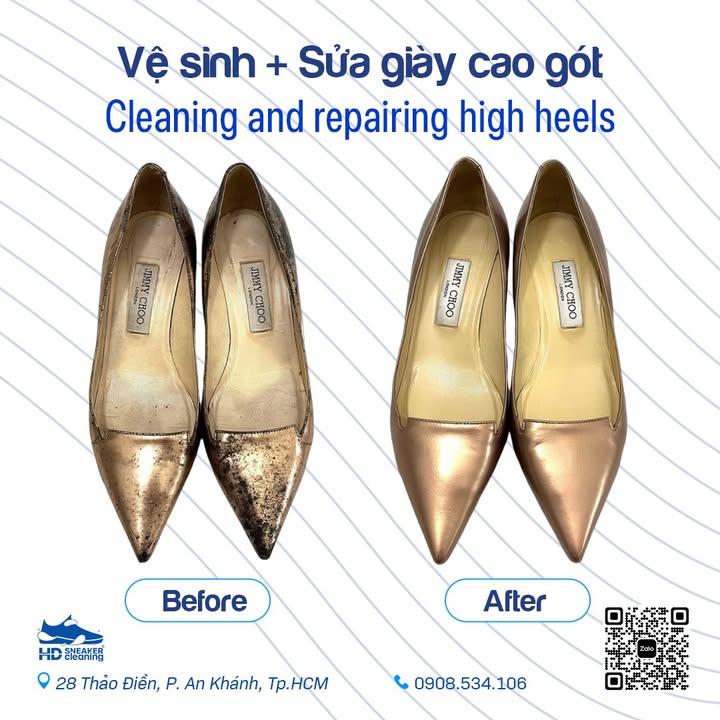
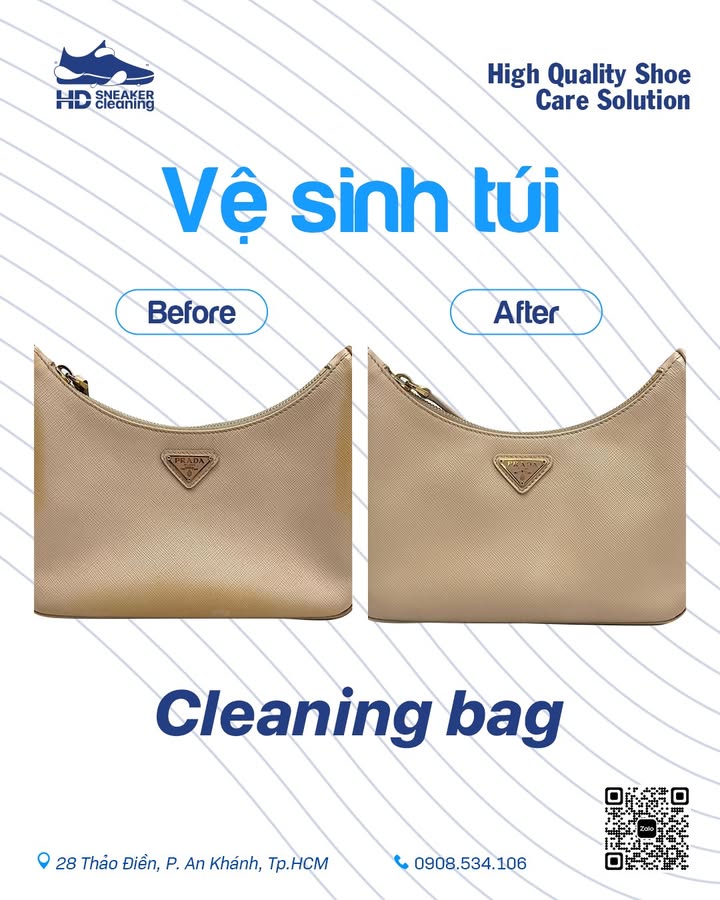
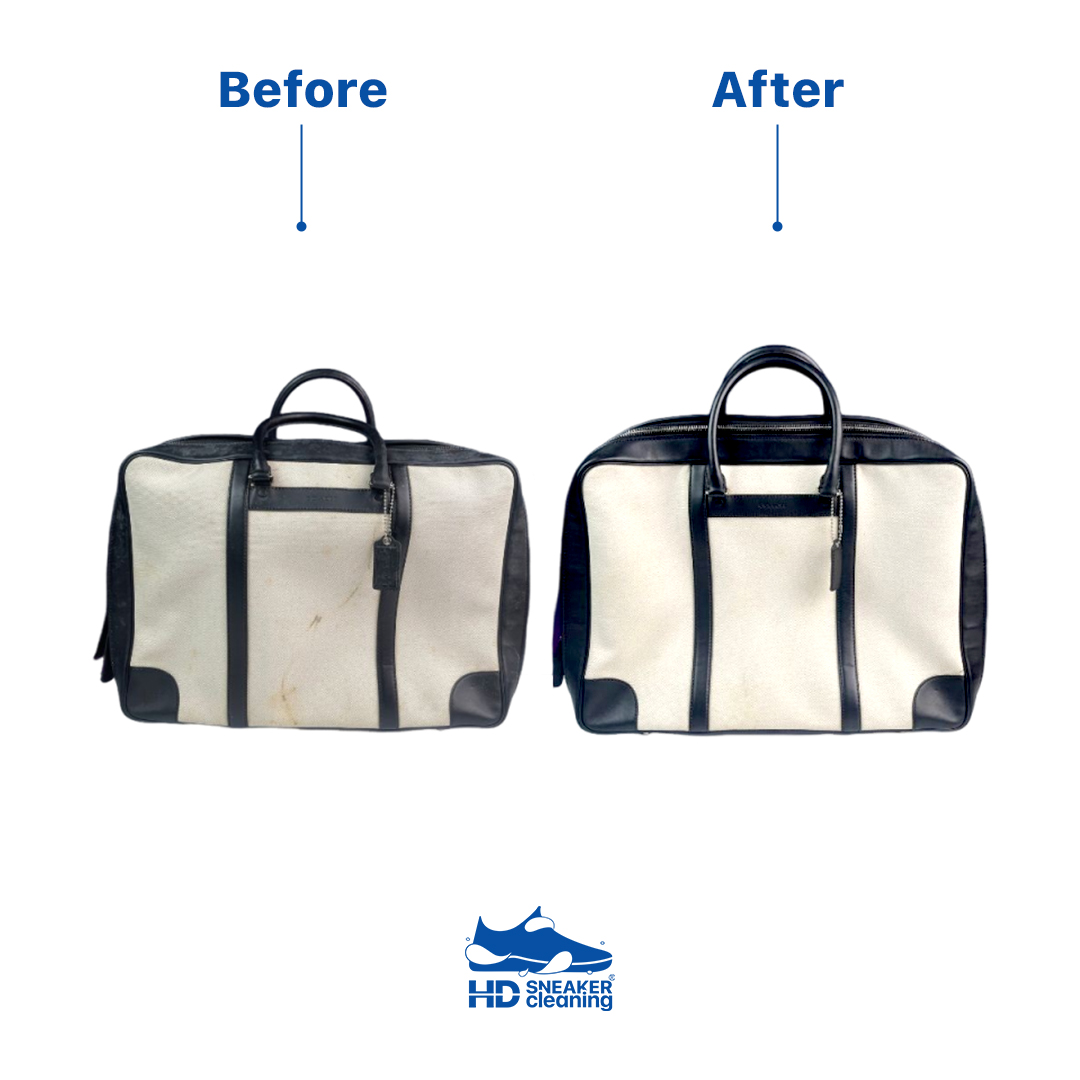
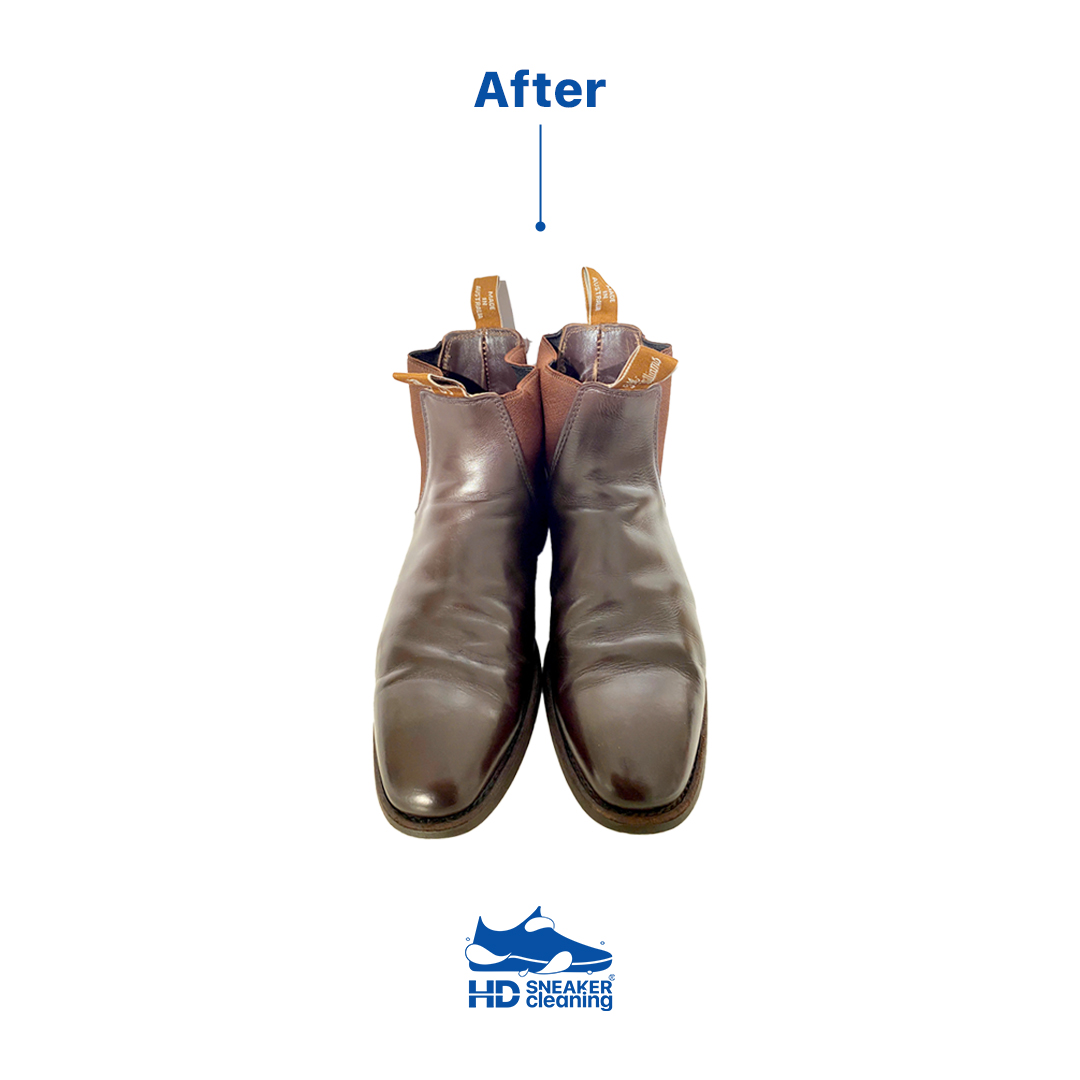
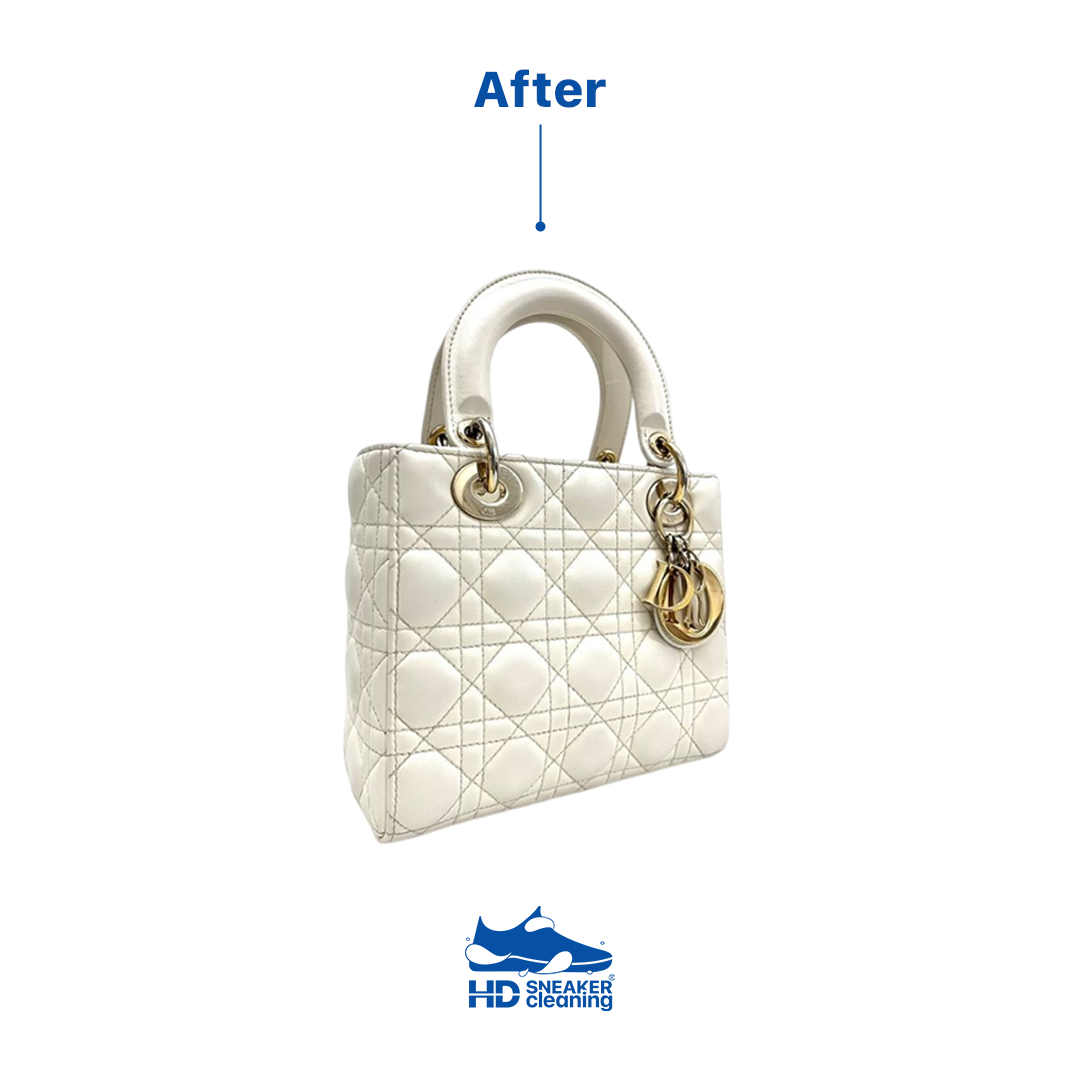
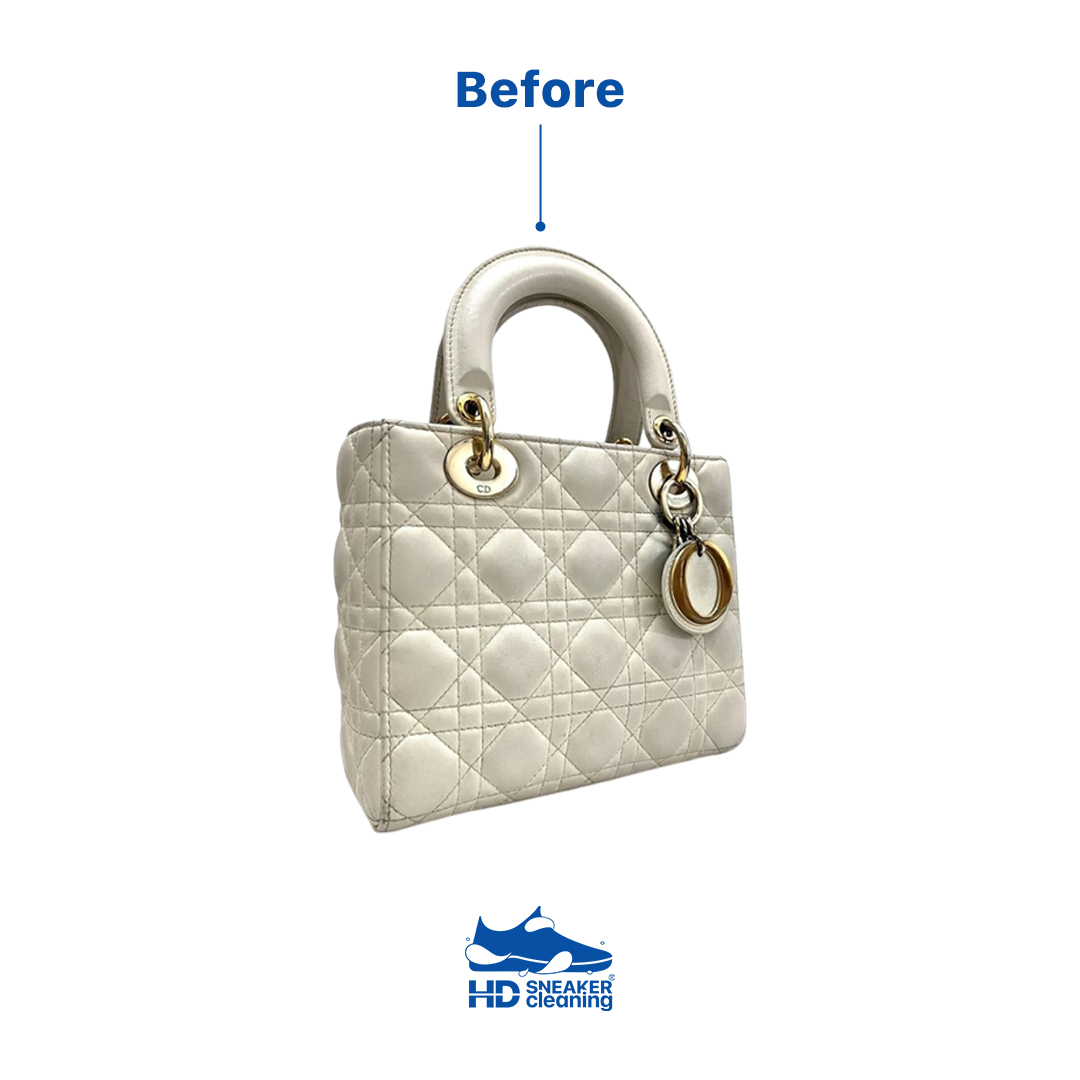
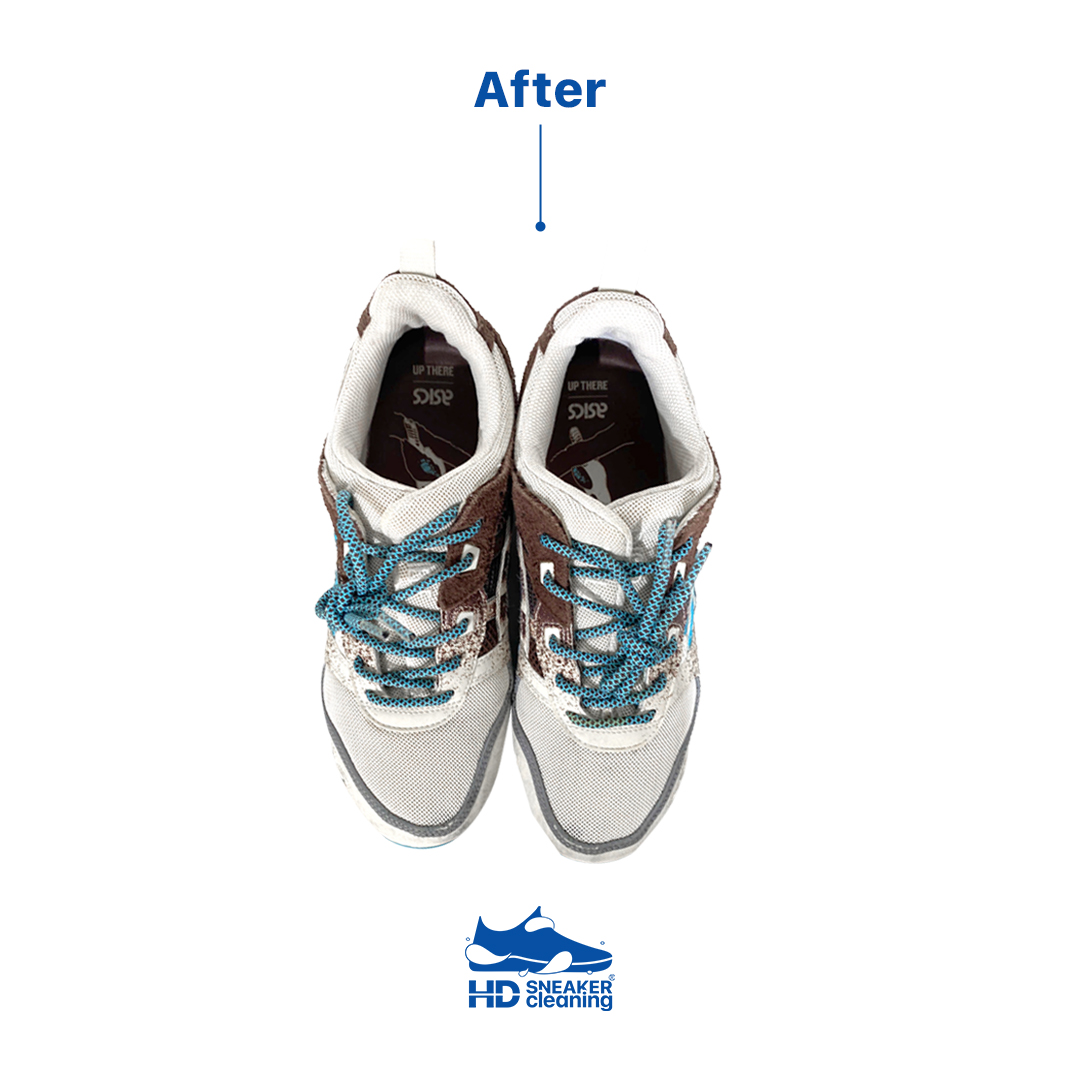
HD Sneaker Cleaning cung cấp dịch vụ sửa chữa giày chuyên nghiệp tại TPHCM, từ sửa giày sneaker, giày tây, giày cao gót đến phục hồi túi xách & đồ da hiệu. Với đội ngũ thợ 6 năm kinh nghiệm và vật liệu cao cấp, chúng tôi cam kết phục hồi giày của bạn về trạng thái tốt nhất.
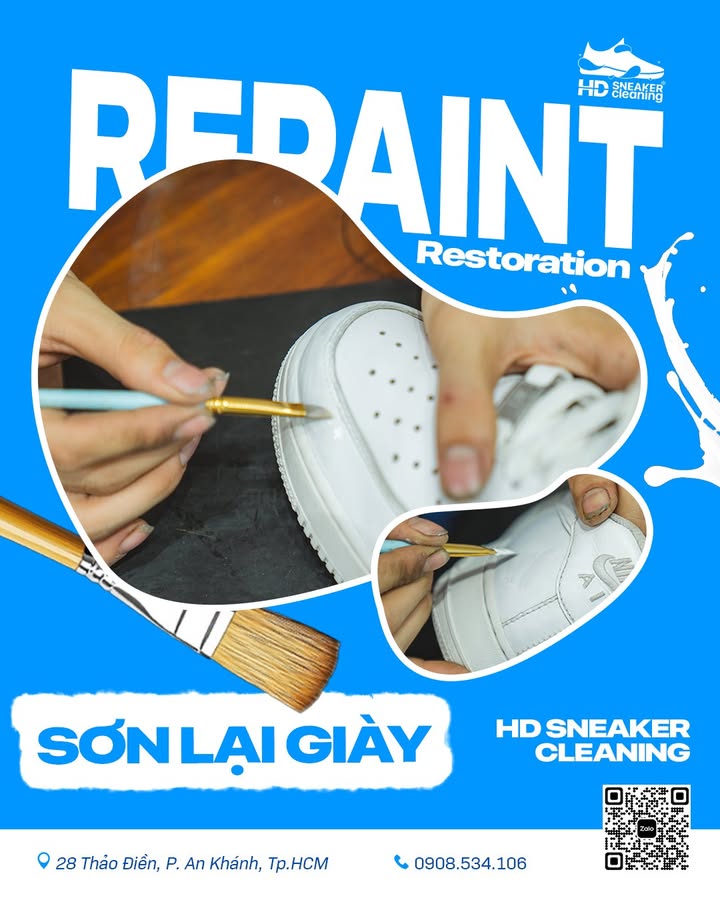
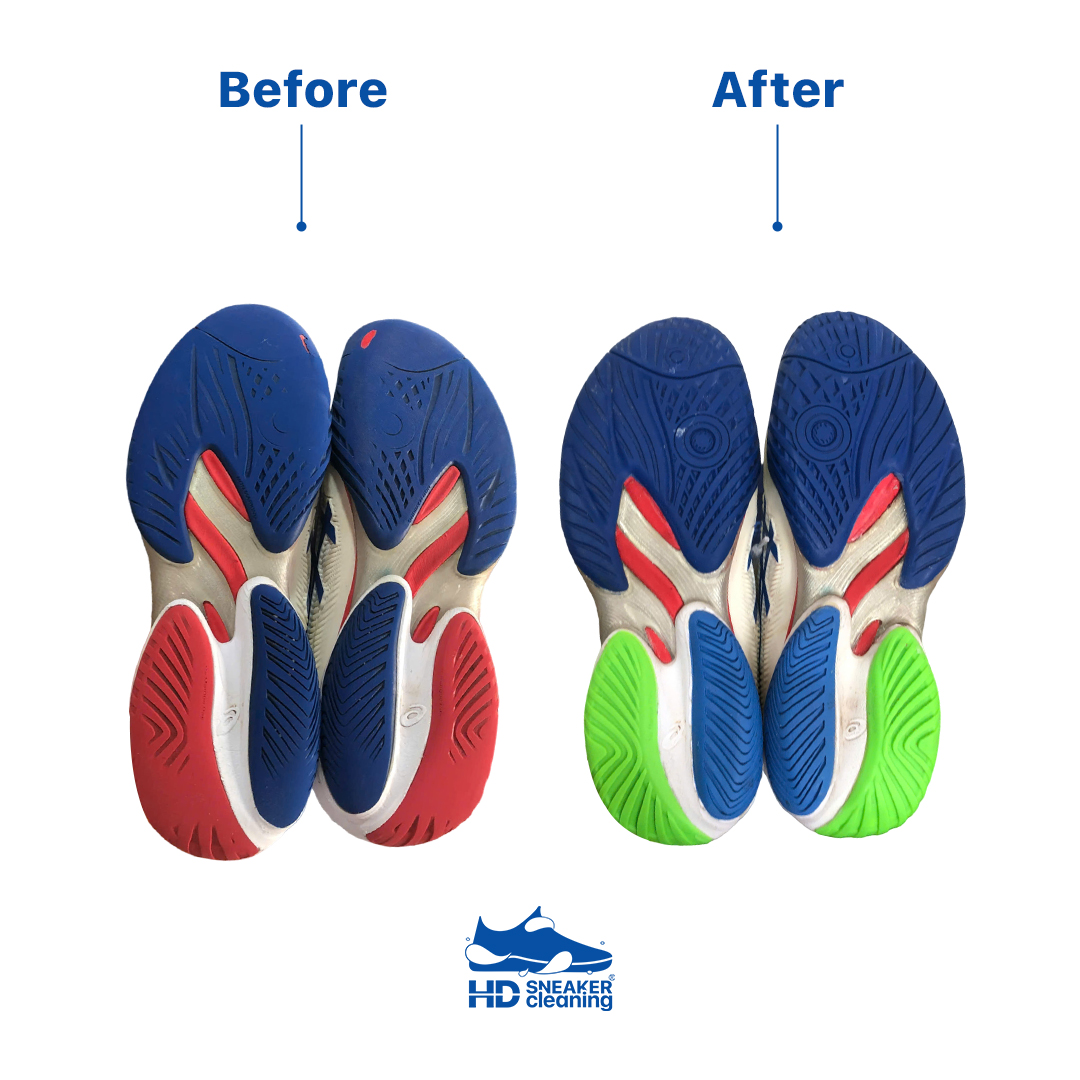
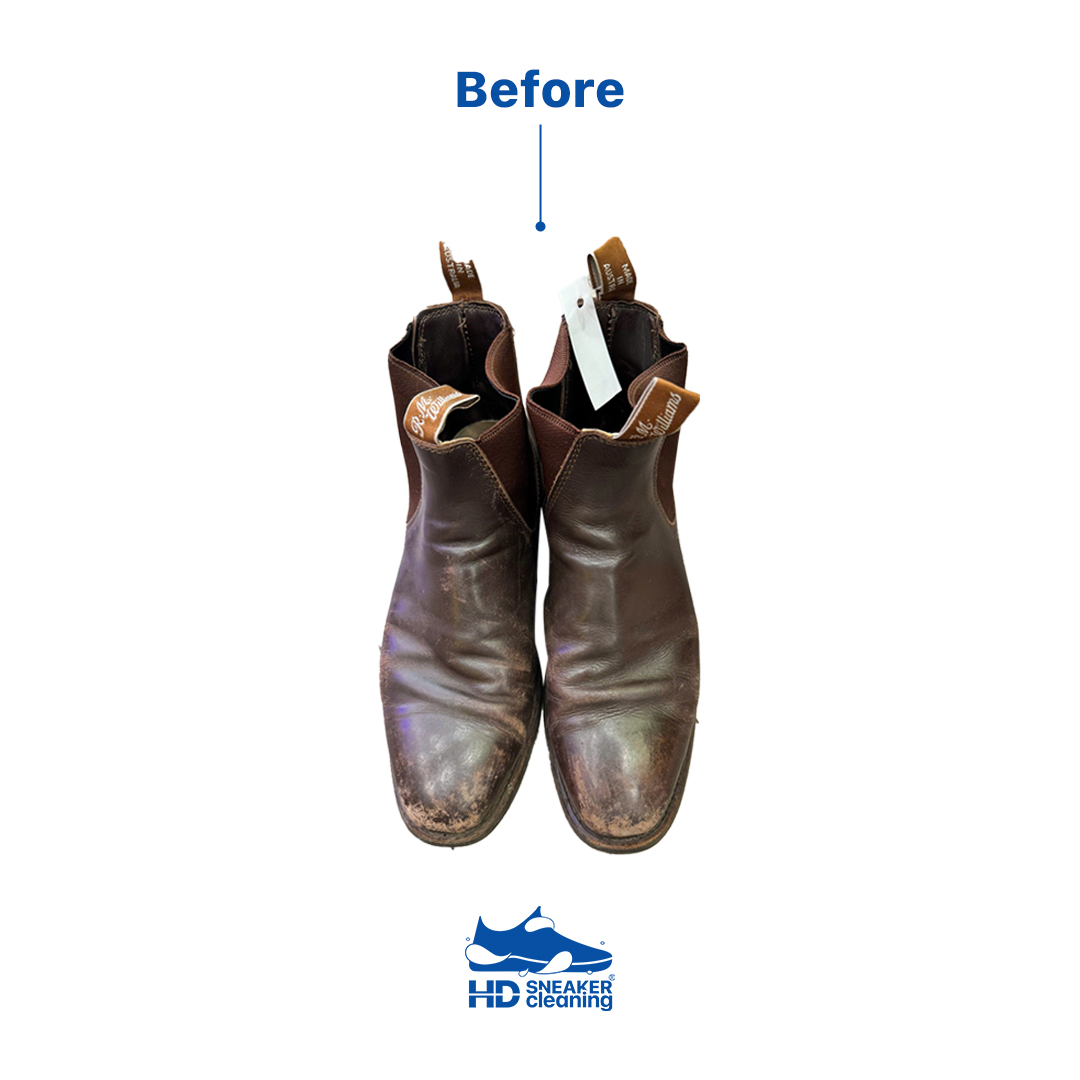
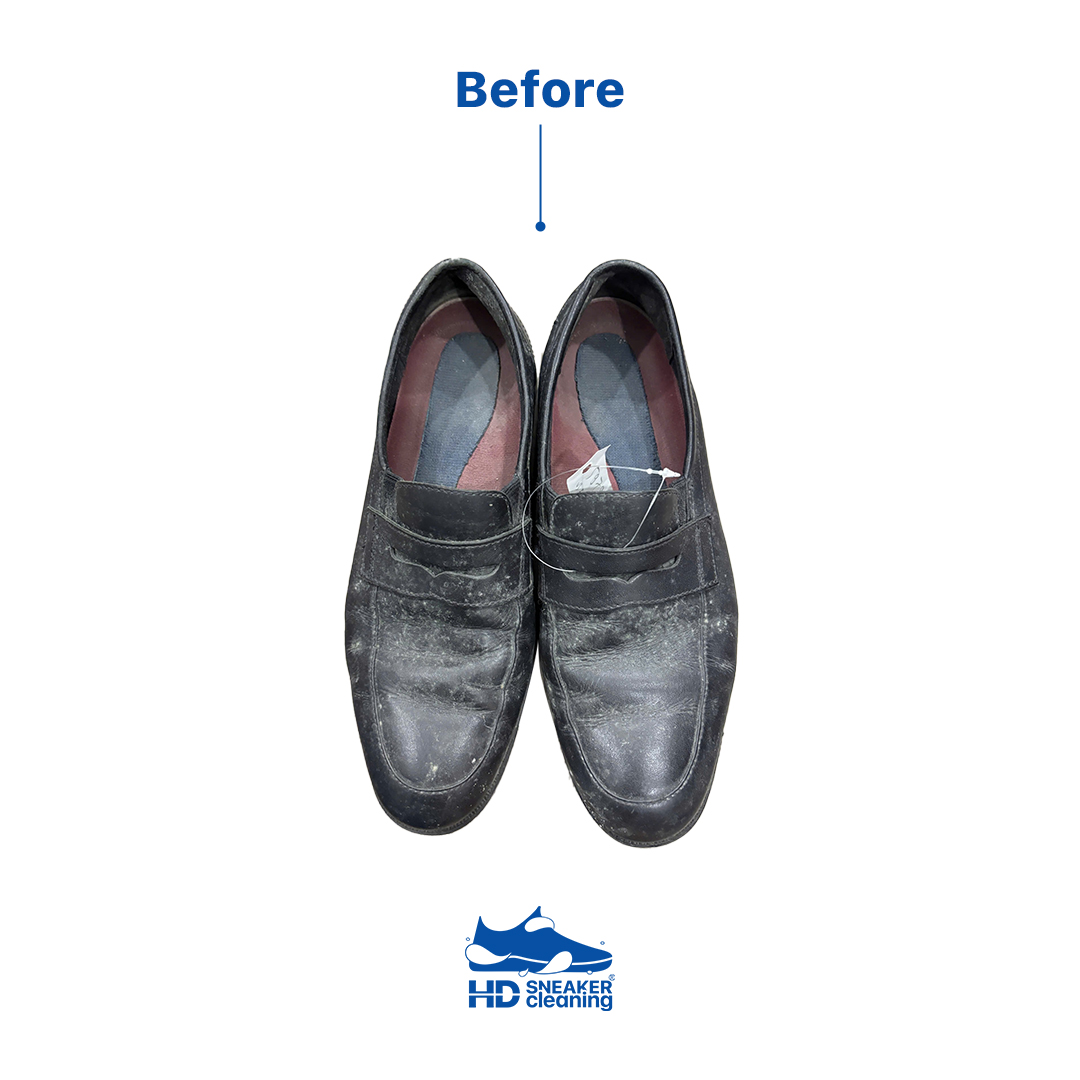
Chúng tôi chuyên xử lý các vấn đề phổ biến như bong keo đế giày, mòn gót, phai màu, rách thân giày, và hư hỏng da. Mỗi đôi giày được kiểm tra kỹ lưỡng, tư vấn minh bạch về chi phí trước khi tiến hành sửa chữa.
- Máy móc cao cấp — trang thiết bị chuyên dụng, đảm bảo chất lượng tối ưu
- Vật liệu cao cấp — keo, sơn, da chính hãng nhập khẩu
- Tư vấn minh bạch — báo giá trước, đồng ý mới sửa
- Giao nhận miễn phí — trong bán kính 2km tại Thảo Điền, Quận 2
- Bảo hành 90 ngày — hoàn tiền 100% nếu không hài lòng
Phục vụ khách hàng toàn TPHCM bao gồm Quận 1, Quận 2, Quận 7, Bình Thạnh, Thủ Đức với dịch vụ giao nhận tận nơi. Đặt lịch sửa giày ngay →