Custom – Repair

Custom – Repair

Repairing Shoes Decription

All repair services by HD Services are warranted for 3 months. (Except for shoe glueing service, which is warranted for 2 weeks, and sole stitching/sewing service, which is warranted forever).
Repairing and Protecting Shoes

Time to return: 4-5 days
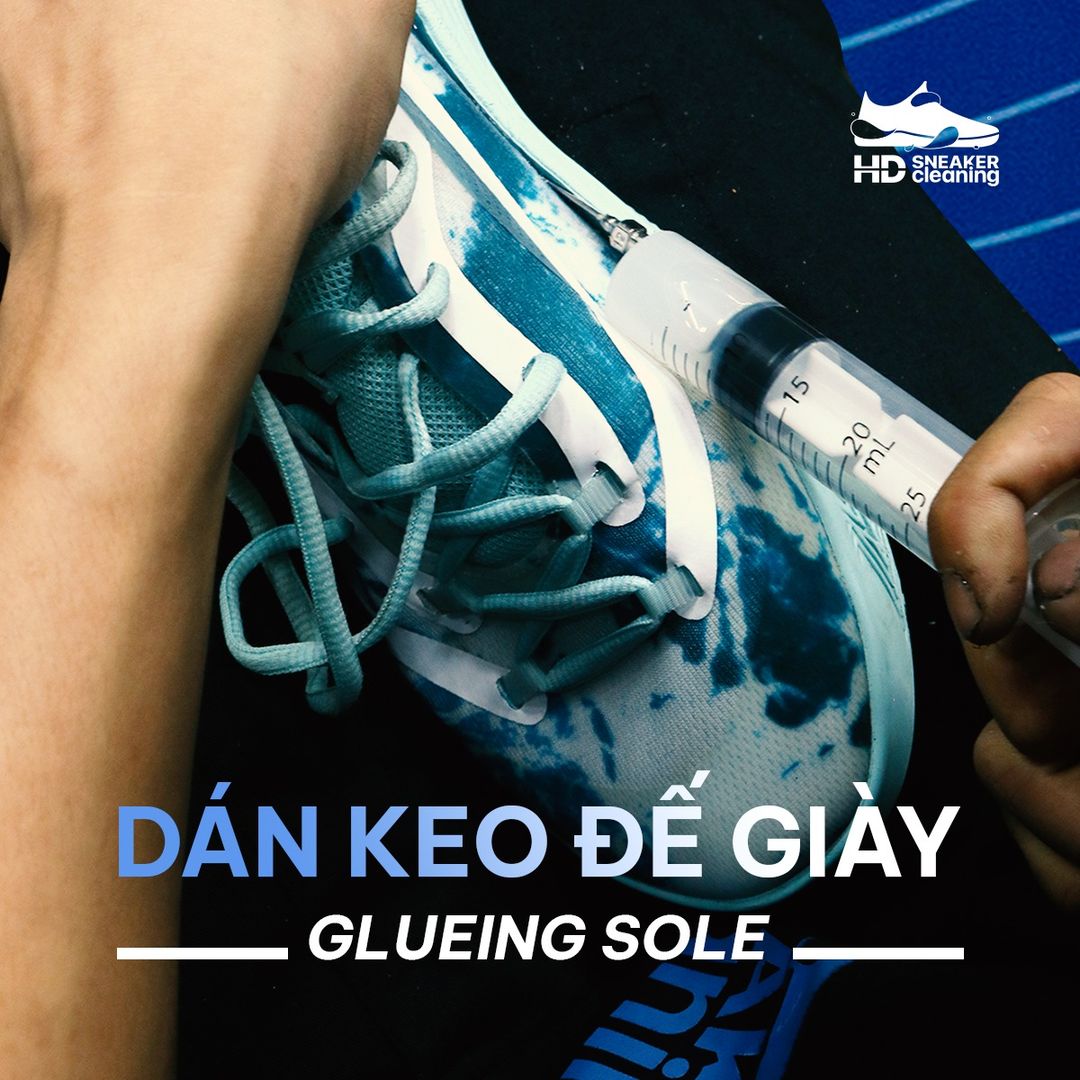
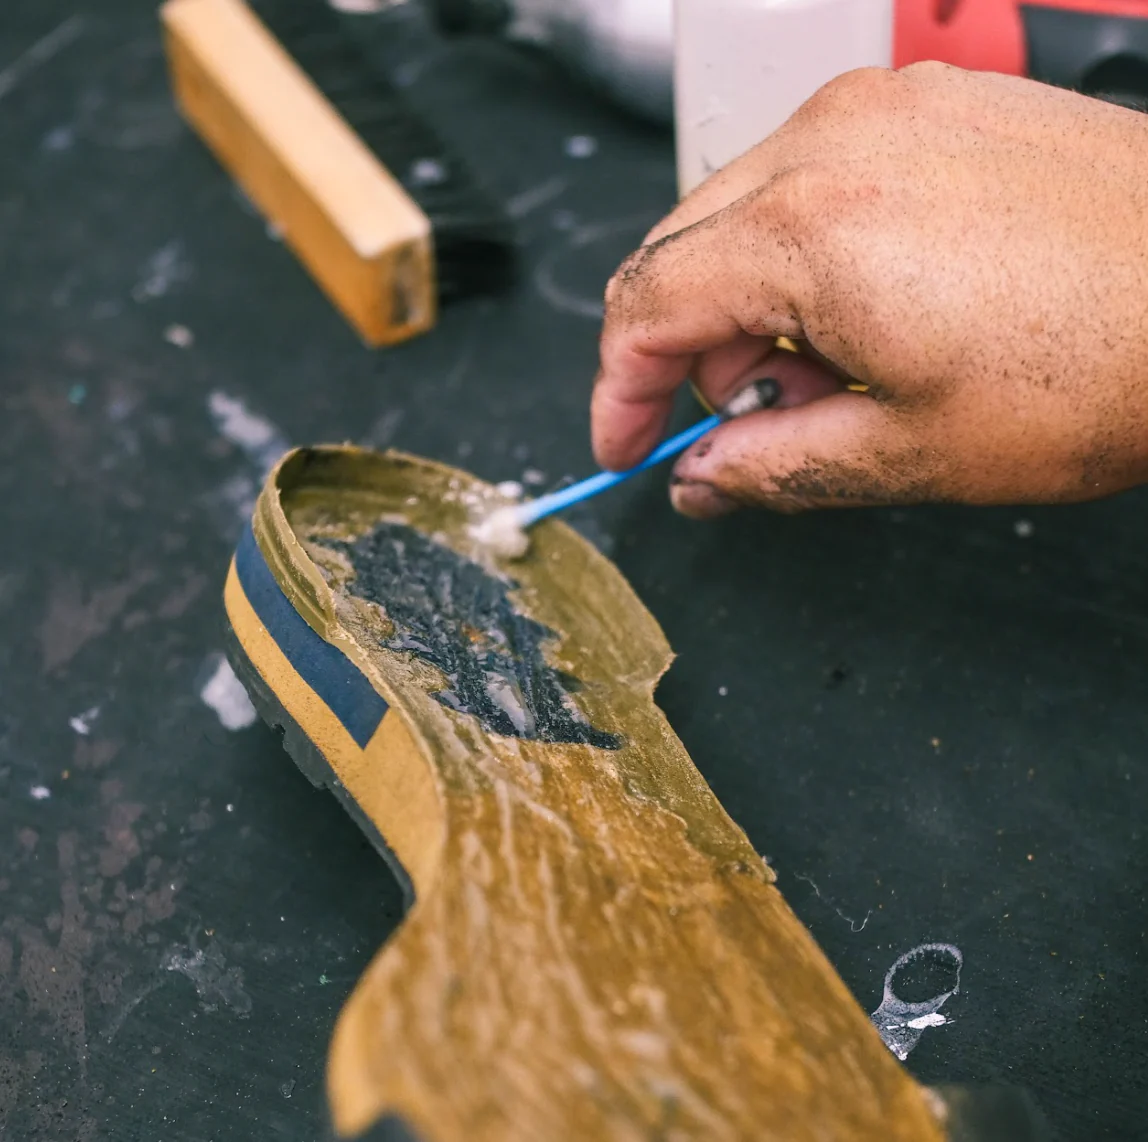
  • Process: Remove old glue ⇒ Grind both sides ⇒ Apply glueing to both surfaces ⇒ Heat the both surfaces ⇒ Press both surfaces by hand for outlook ⇒ Press by machine to make it certainly ⇒ Dry for about 24 hours ⇒ Double Check.
  • Warranty: 2 weeks
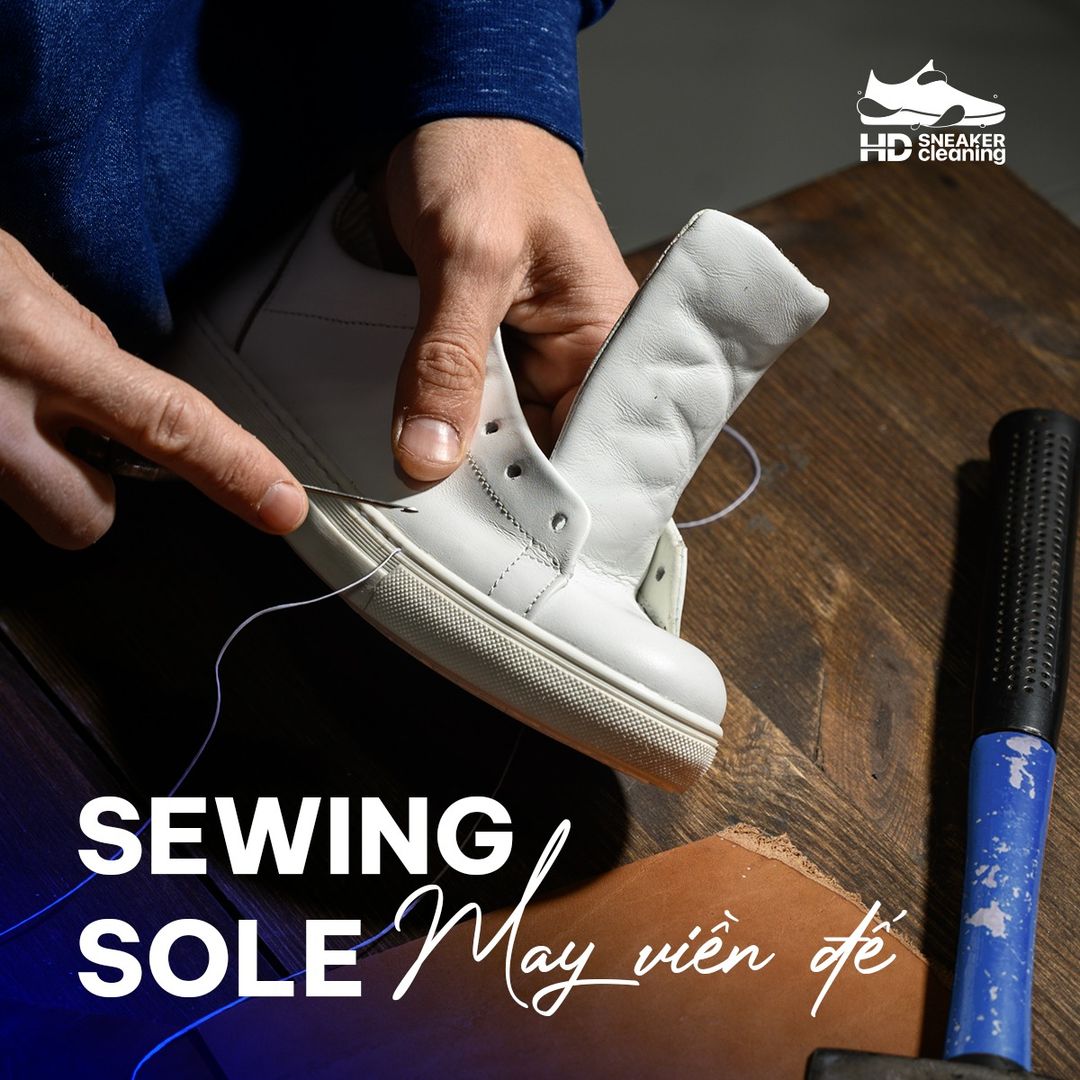
  • Process: Identify surface to stitch/sew ⇒ Clean the stitching surface ⇒ Create a split for the stitches to sit inside and reduce external impact (if the sole is suitable) ⇒ Proceed with hand or machine stitching to achieve the highest aesthetic quality for the shoe ⇒ Apply glue around the stitching edges for added durability ⇒ Double Check.
  • Warranty: Forever
  • Process: Confirm the color with the customer before proceeding ⇒ Thoroughly clean the midsole surface to be painted ⇒ Strip off the existing paint and prepare the surface for better adhesion of the new paint ⇒ Use masking tape to cover areas on the upper or unnecessary surfaces to prevent color bleeding onto other surfaces ⇒ Apply paint with a spray gun for maximum adhesion and smoothness (4 coats with 30-minute intervals) ⇒ Allow to dry for 6 hours to ensure the paint is dry ⇒ Apply an additional 2 layers of Finisher to protect and enhance the durability of the paint layer ⇒ Check the color and details again.
  • Warranty: 3 months
  • Process: Confirm the color with the customer before proceeding ⇒ Thoroughly clean the surface to be painted ⇒ Strip off the existing paint and prepare the surface for better adhesion of the new paint ⇒ Use masking tape to cover areas on the sole or unnecessary surfaces to prevent color bleeding onto other surfaces ⇒ Apply paint with a spray gun for maximum adhesion and smoothness (4 coats with 30-minute intervals) ⇒ Allow to dry for 6 hours to ensure the paint is dry ⇒ Apply an additional 2 layers of Finisher to protect and enhance the durability of the paint layer ⇒ Check the color and details again.
  • Warranty: 3 months
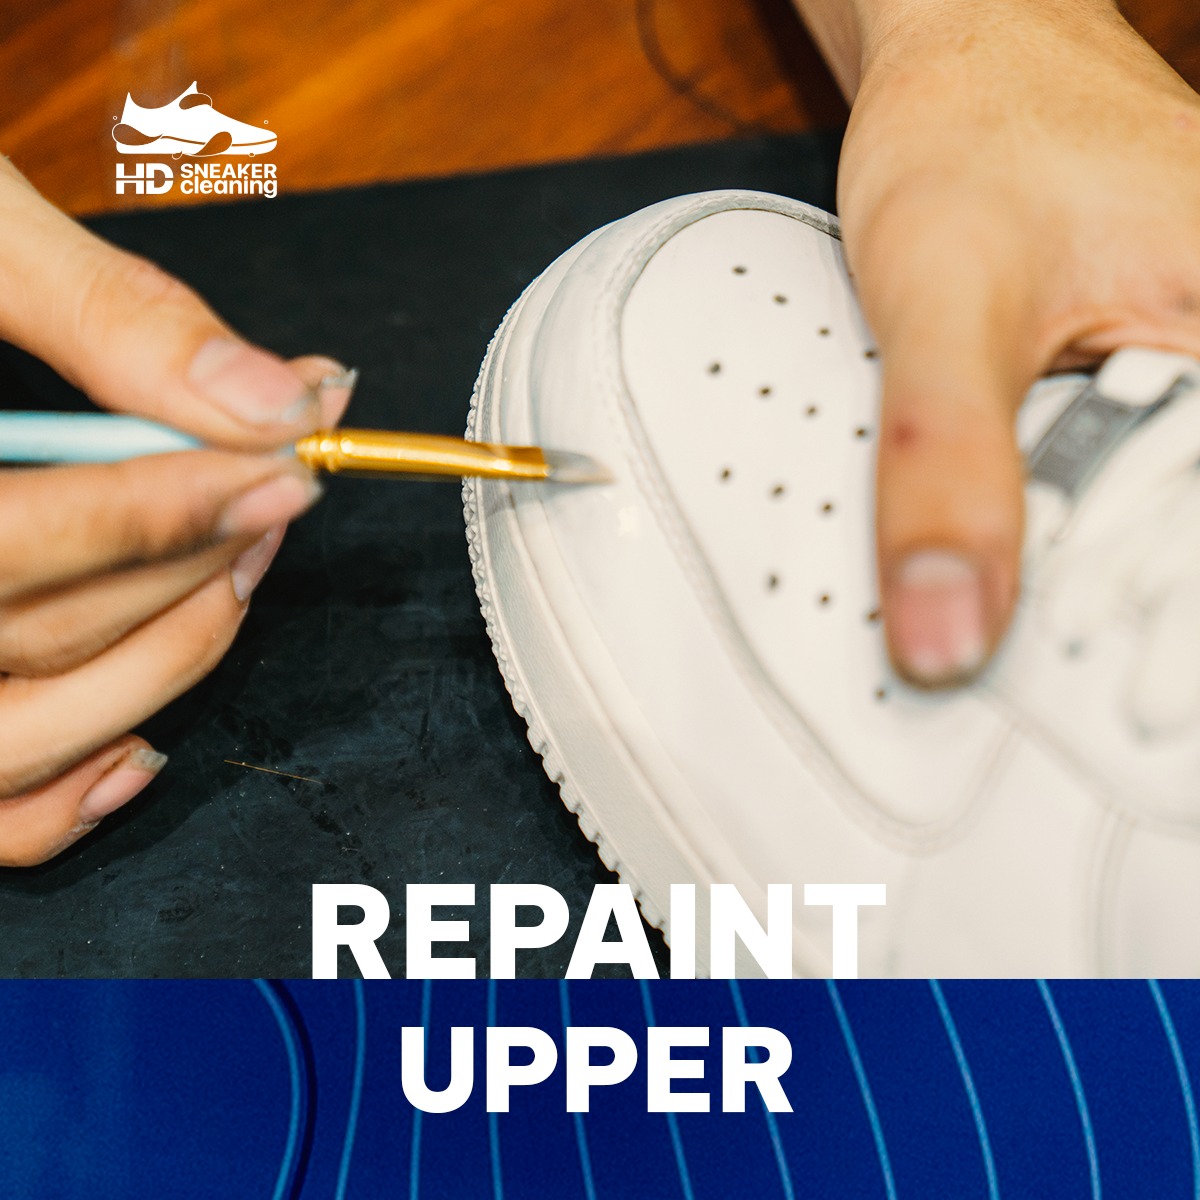
  • Process: Confirm color with customer before proceeding ⇒ Thoroughly clean the surface to be painted ⇒ Strip off old paint and prepare surface for better paint adhesion ⇒ Use masking tape to cover areas not requiring paint to prevent color bleeding ⇒ Apply paint with a spray gun for maximum adhesion and smoothness (4 coats with 30-minute intervals) ⇒ Allow to dry for 6 hours for the paint to set ⇒ Apply 2 additional layers of Finisher for maximum protection and durability of the paint layer ⇒ Recheck color and details.
  • Warranty: 3 months
  • Process: Clean the surface to be treated ⇒ Hand-sew the tear using the most aesthetic method ⇒ Apply a thin piece of leather underneath the stitching to minimize impact on the tear ⇒ Check the tear, stitching, and patch.
  • Warranty: 3 months
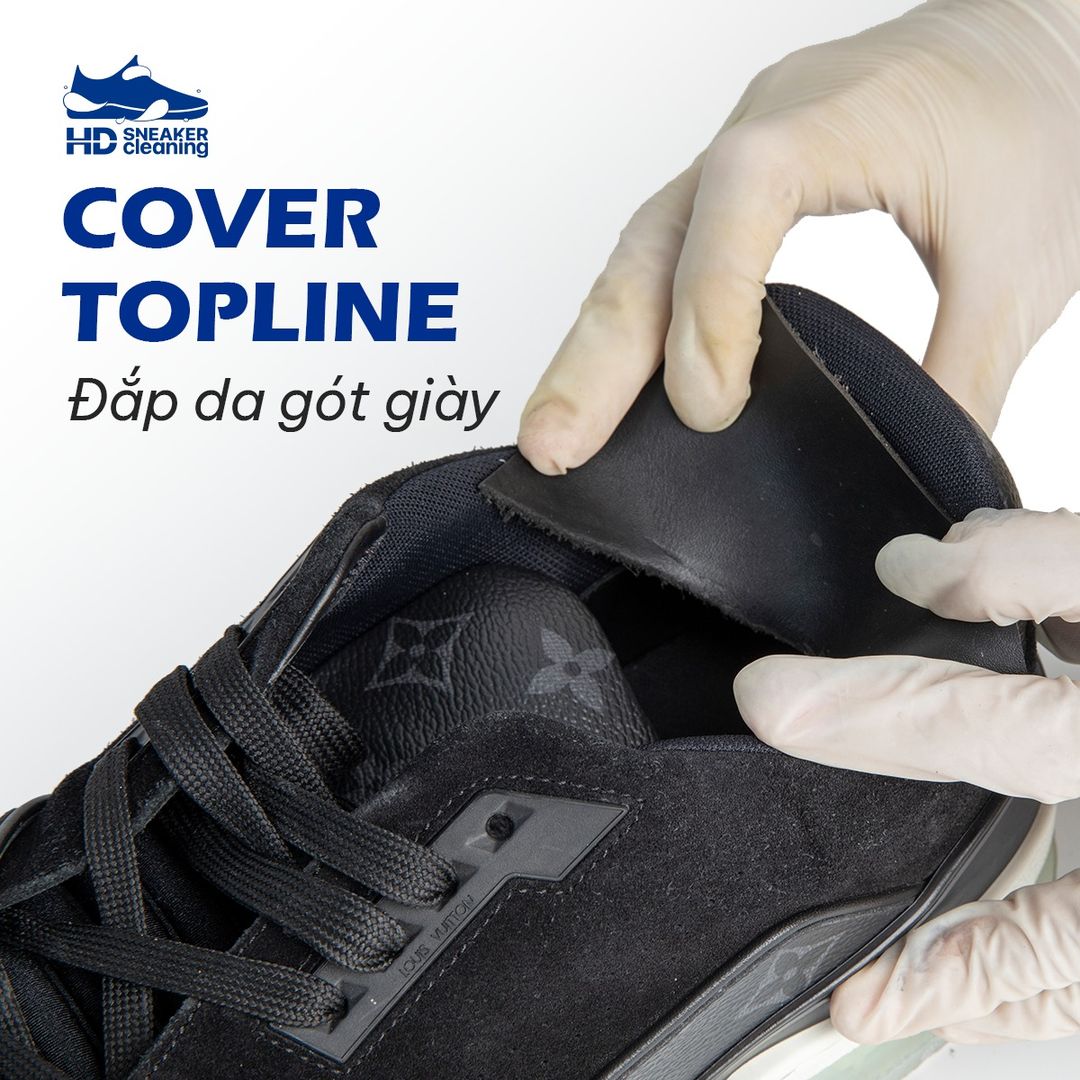
  • Process: Determine the size of leather to be applied and cut to fit (Black, white leather) ⇒ Apply glue to both surfaces ⇒ Dry both surfaces ⇒ Press by hand and hold the two surfaces together for 20 minutes to ensure the strongest possible bond ⇒ Check the glue again.
  • Warranty: 3 months
  • Process: Discuss 3D ideas with the customer before implementation on the shoe (Confirm size, color, material) ⇒ If the customer agrees, an accurate quotation will be provided to execute the idea ⇒ The custom process will take about 7-10 days ⇒ Check each detail through images before delivery to the customer ⇒ Free re-execution if it does not match the original idea for the customer.
  • Warranty: 3 months

Repairing/ Polishing/ Protecting Leather Dress Shoes

Time to return: 4-5 days
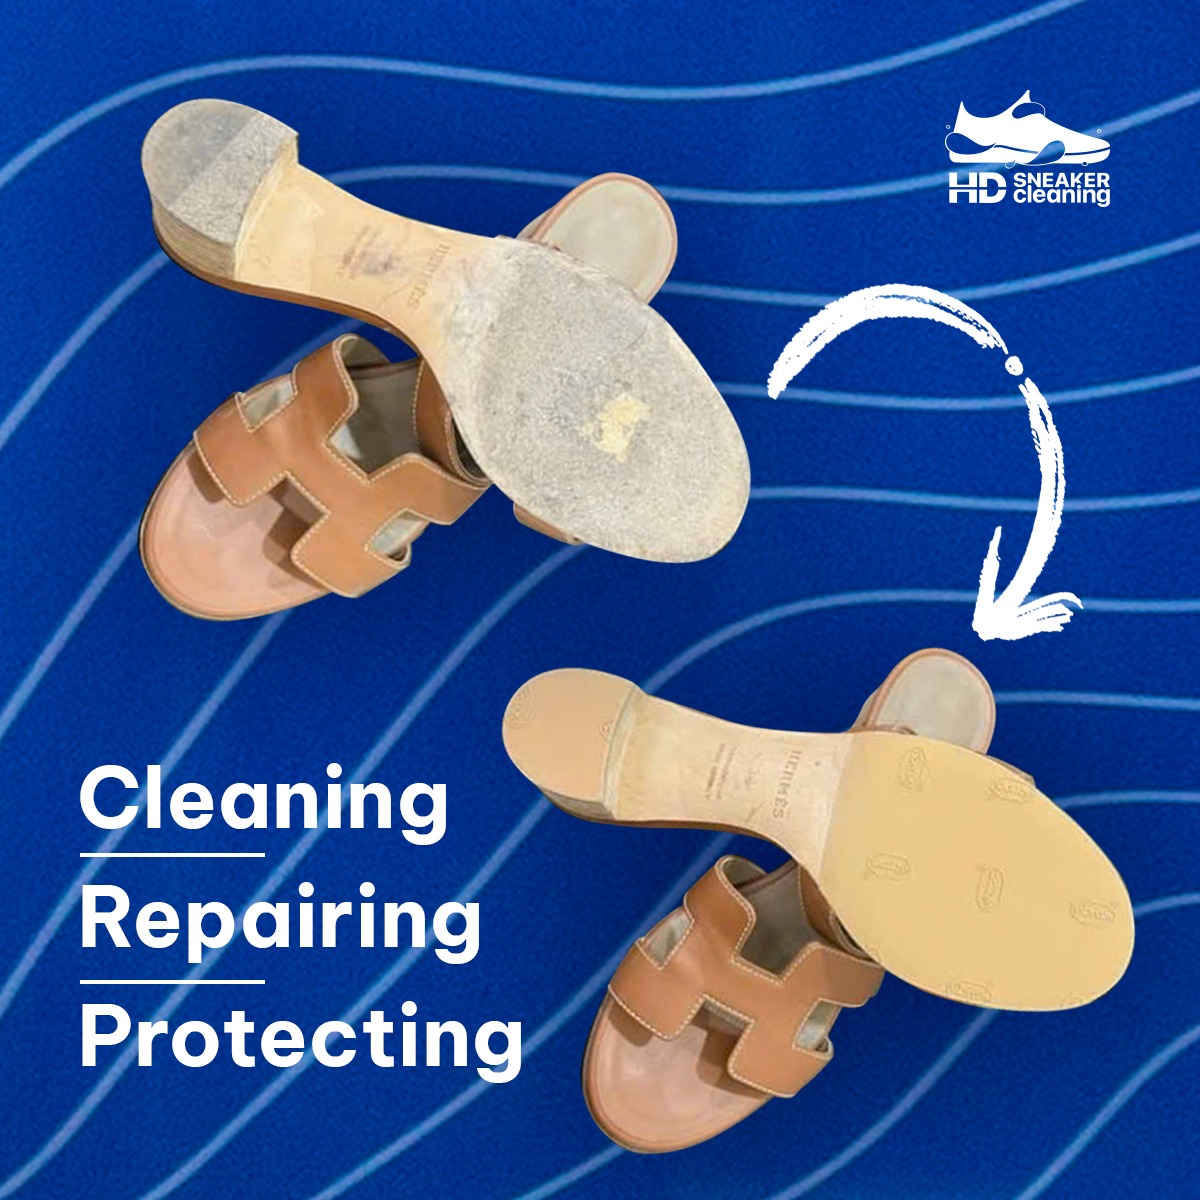
  • Process: Clean the surface of the sole to be glued ⇒ Cut the rubber sole to fit the shoe mold when gluing ⇒ Grind the sole and rubber sole surfaces to create adhesion for both surfaces ⇒ Apply glue to both surfaces ⇒ Heat both surfaces with a high-temperature dryer to melt the glue and create adhesion for both surfaces ⇒ Press the shoe and rubber piece with a hydraulic heat press ⇒ Trim excess rubber sole ⇒ Grind excess rubber to match the shoe sole edge ⇒ Repaint the edge ⇒ Check each small detail again.
  • Warranty: 6 months
  • Process: Clean the surface of the sole to be glued ⇒ Cut a piece of 3M to cover the entire sole surface when glueing ⇒ Use a high-temperature heat gun to heat and increase the adhesion of the 3M ⇒ Trim excess 3M ⇒ Grind the rubber piece to maximize adhesion to the 3M sole ⇒ Apply glue to both the rubber surface and the 3M sole ⇒ Heat both surfaces with a high-temperature dryer to melt the glue and create adhesion for both surfaces ⇒ Press the shoe and rubber piece with a hydraulic heat press ⇒ Trim excess rubber ⇒ Check each small detail again.
  • Warranty: 6 months
Process: Clean the polished surface ⇒ Apply lotion to soften the leather and clean it thoroughly to the roots to enhance the adhesion of the polish layer ⇒ Dry for the wax to penetrate deep into the material ⇒ Apply polish with a soft brush ⇒ Wait for the polish to dry for about 10 minutes ⇒ Use a towel to create a shine ⇒ Check the shoe again before packaging.
  • Process: Carefully remove the old heel tap ⇒ Determine whether to insert nails or sew the leather heel ⇒ Trim excess leather to make the heel consistent with the shoe ⇒ Reshape the leather sole edge ⇒ Paint the same color with sole⇒ Check the shoe again before packaging.
  • Warranty: 6 months
  • Process: Identify surface to stitch/sew ⇒ Clean the stitching surface ⇒ Create a split for the stitches to sit inside and reduce external impact (if the sole is suitable) ⇒ Proceed with hand or machine stitching to achieve the highest aesthetic quality for the shoe ⇒ Apply glue around the stitching edges for added durability ⇒ Double Check.
  • Warranty: Forever
  • Process: Thoroughly clean the surface to be recolored ⇒ Flatten any scratches and bumps on the leather dress shoe using sanding techniques ⇒ Apply filler to fill in any areas lacking leather, then sand down to ensure the filler matches the leather ⇒ Apply multiple layers of dye deeply into the leather, approximately 4-5 coats ⇒ Apply a shining layer to enhance glossiness and protect the color after dyeing (Suitable colors include black, dark brown, navy blue, burgundy, etc.)
  • Warranty: 3 months against color fading
  • Process: Carefully remove the current sole to minimize impact on the shoe upper ⇒ Create leather edges and midsole according to the shoe last ⇒ Apply glue and secure with hydraulic press ⇒ Stitch the leather sole to the shoe upper for durability ⇒ Nail from top to bottom to secure the leather heel ⇒ Apply high-quality anti-slip Vibram rubber on the toe to prevent slipping
  • Warranty: 6 months
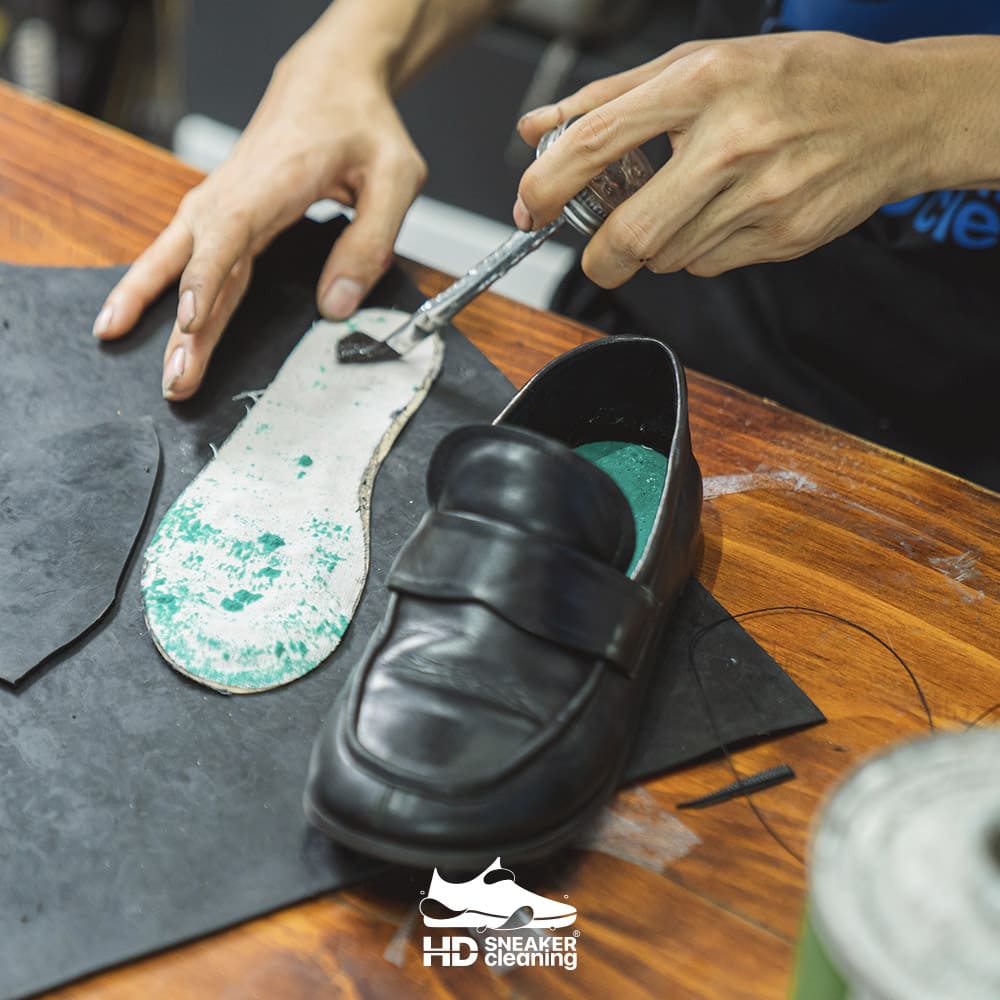
  • Process: Carefully remove the current lining to preserve the core (if any, for added comfort) ⇒ Wrap the core with matching leather or apply a new leather lining to the existing surface ⇒ Press the lining with a shoe last and hydraulic press to secure it in place ⇒ Check the glue and every detail
  • Warranty: 6 months
  • Process: Insert thin nails from the top down at the four corners of the heel to ensure stability ⇒ Reattach the shoe lining and optionally add glueing around the heel for maximum durability ⇒ Check the glue and every detail
  • Warranty: 6 months
Process: Basic cleaning to remove any loose PU leather layers ⇒ Gently sand the inner PU leather layers with sandpaper ⇒ Cleaning again ⇒ Double Check

Repair high heels

  • Process: Clean the surface of the sole to be glued ⇒ Cut the rubber sole to fit the shoe mold when gluing ⇒ Grind the sole and rubber sole surfaces to create adhesion for both surfaces ⇒ Apply glue to both surfaces ⇒ Heat both surfaces with a high-temperature dryer to melt the glue and create adhesion for both surfaces ⇒ Press the shoe and rubber piece with a hydraulic heat press ⇒ Trim excess rubber sole ⇒ Grind excess rubber to match the shoe sole edge ⇒ Repaint the edge ⇒ Check each small detail again.
  • Warranty: 6 months
  • Process: Clean the surface of the sole to be glued ⇒ Cut a piece of 3M to cover the entire sole surface when glueing ⇒ Use a high-temperature heat gun to heat and increase the adhesion of the 3M ⇒ Trim excess 3M ⇒ Grind the rubber piece to maximize adhesion to the 3M sole ⇒ Apply glue to both the rubber surface and the 3M sole ⇒ Heat both surfaces with a high-temperature dryer to melt the glue and create adhesion for both surfaces ⇒ Press the shoe and rubber piece with a hydraulic heat press ⇒ Trim excess rubber ⇒ Check each small detail again.
  • Warranty: 6 months
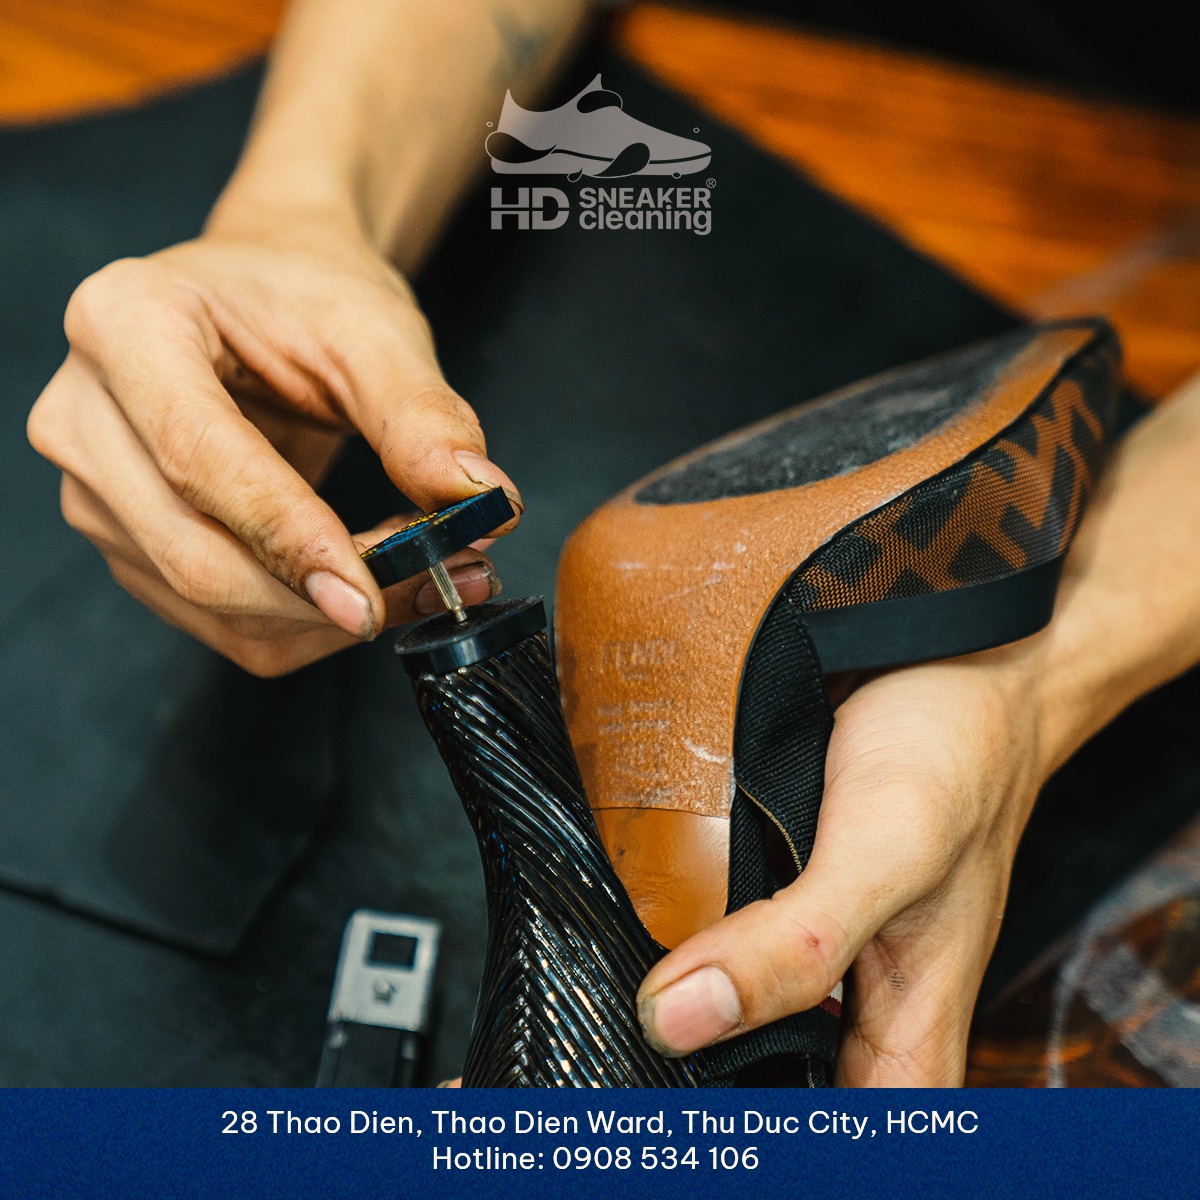
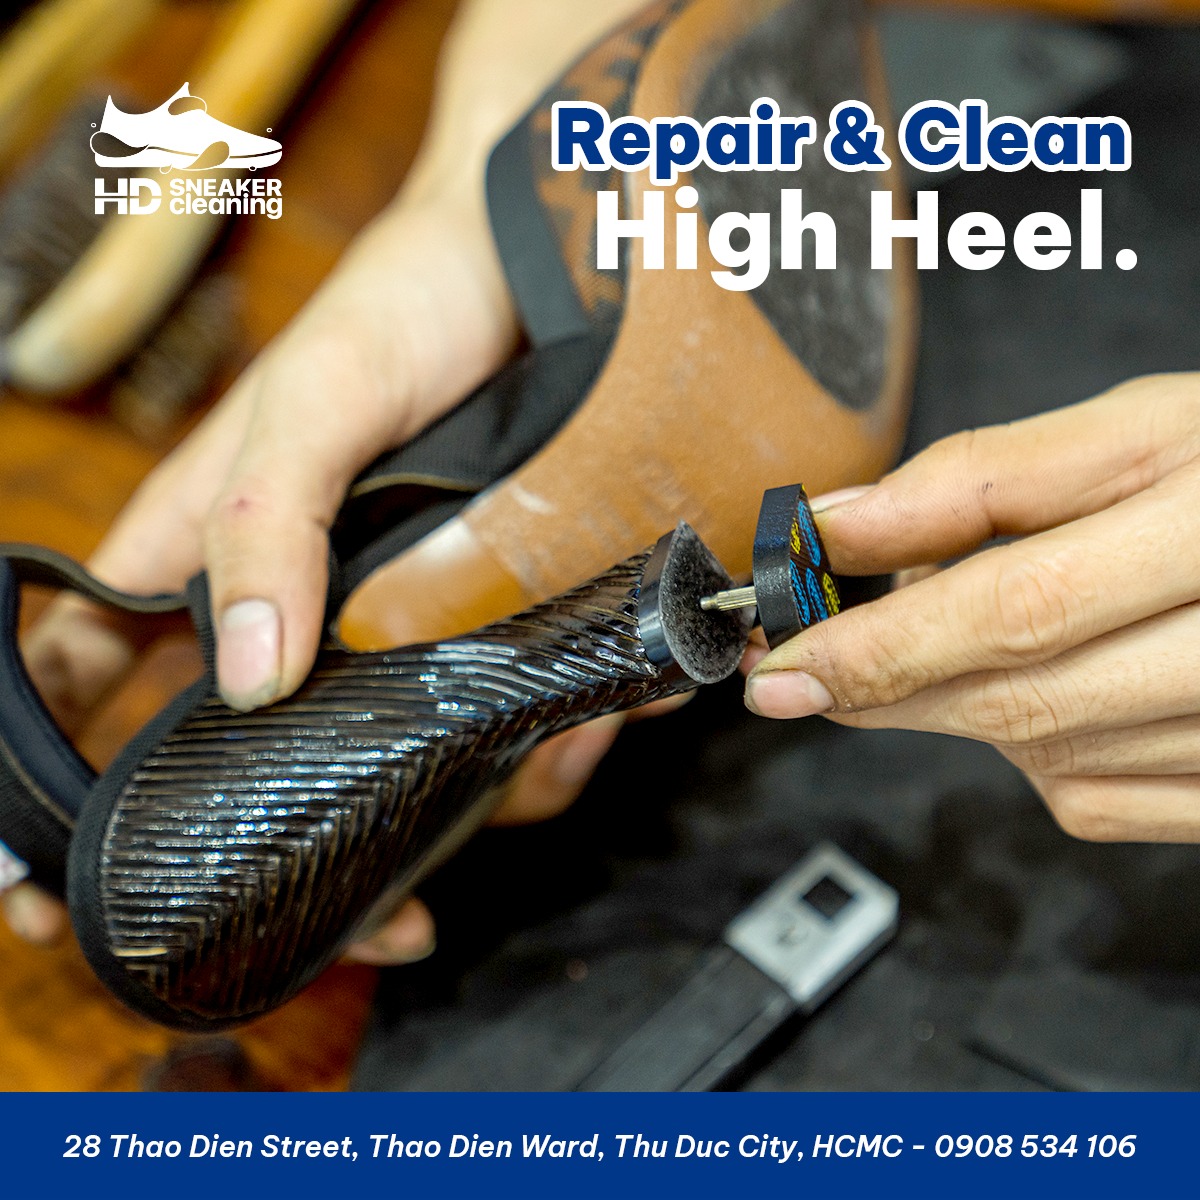
  • Process: Small heel stud: Remove the rubber heel stud and the core of the heel stud ⇒ Choose a heel stud that matches the color and size of the heel ⇒ Attach the new stud to the heel Large heel stud: Remove the heel stud rubber ⇒ Cut a piece of anti-slip rubber of the same thickness and size as the heel of a high heel ⇒ Apply glue evenly on both surfaces of high heels and rubber ⇒ Heat the glue with a high temperature dryer to let the glue melt and create adhesion ⇒ Wait for the glue to dry and press the two surfaces with a hydraulic press so that the glue works most firmly ⇒ Check details and packaging again
  • Warranty: 6 months
  • Process: Remove the heel cap from the high heels ⇒ Disassemble the leather layer wrapped around the core of the high heel ⇒ Re-wrap with new leather ⇒ Mix the color to the most accurate ratio to match the color of the high heel ⇒ Spray paint the heel approximately 4-5 layers along with 2 layers of Finisher to add shine and protect the paint layer ⇒ Reattach the heel to the high heel by gluing the edge or customers can choose to nail from top to bottom ⇒ Double Check
  • Process: Identify surface to stitch/sew ⇒ Clean the stitching surface ⇒ Create a split for the stitches to sit inside and reduce external impact (if the sole is suitable) ⇒ Proceed with hand or machine stitching to achieve the highest aesthetic quality for the shoe ⇒ Apply glue around the stitching edges for added durability ⇒ Double Check.
  • Warranty: Forever
  • Process: Carefully remove the current sole to minimize impact on the shoe upper ⇒ Create leather edges and midsole according to the shoe last ⇒ Apply glue and secure with hydraulic press ⇒ Stitch the leather sole to the shoe upper for durability ⇒ Nail from top to bottom to secure the leather heel ⇒ Apply high-quality anti-slip Vibram rubber on the toe to prevent slipping
  • Warranty: 6 months
  • Process: Basic cleaning to remove any loose PU leather layers ⇒ Gently sand the inner PU leather layers with sandpaper ⇒ Cleaning again ⇒ Double Check
  • Process: Insert thin nails from the top down at the four corners of the heel to ensure stability ⇒ Reattach the shoe lining and optionally add glueing around the heel for maximum durability ⇒ Check the glue and every detail
  • Warranty: 6 months
Process: Basic cleaning to remove any loose PU leather layers ⇒ Gently sand the inner PU leather layers with sandpaper ⇒ Cleaning again ⇒ Double Check